


In this post, I'll show you how to make your own sticker sheets using a Cricut machine.
Software/tools I've used:
Affinity Designer (you can also use Photoshop or other design software)
Cricut Explore Air & Cricut Design Space
White glossy sticker sheet
Epson WF-100 printer (see my review of the printer here)
Mozto Compact & Safety Rotary Paper Trimmer
Step-by-step guide:
1. Choose/draw the graphics you want to print as stickers. Here I've used a set of cat images that I downloaded from creativemarket.com - just make sure yours are in PNG or artwork format
2. Create a blank canvas of 1,571 x 2,367 px, I would usually fill the background with a pale grey colour rectangle


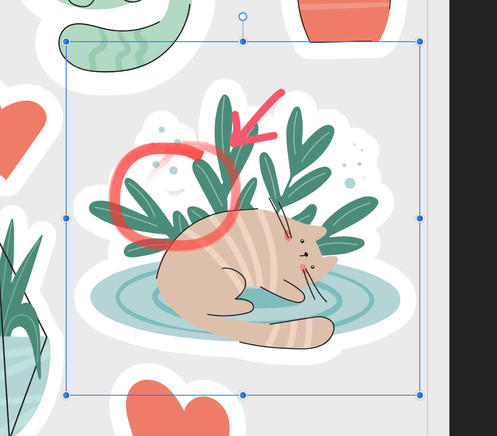
3. Outline your images with a white border and align them on your canvas, making sure the white borders don't touch one another. Remember to fill the grey gaps if you do not want a cut-out sticker
4. Export your sticker sheet as JPG or PNG

5. On your Cricut Design Space, upload your sticker sheet and remove the grey background. If you have a cut-out in one of the stickers, do not forget to remove the grey area in the middle too


6. I usually print two sticker sheets on each A4 paper, so insert your images to your Cricut canvas and rotate to 270°. Set the height of each image at 5.6" and attach the two images as one

7. Print your stickers and let your Cricut machine do the magic - find the right pressure for your specific sticker sheet. I use Washi Tape for my white glossy sticker paper, and Sticky Note (Pressure: More) for my thicker transparent sticker paper
8. Trim your stickers into two sheets - this size will be perfect to fit in your 4R album


And there you go, your very own sticker sheets - I've made a few more from other Creative Market graphics I found!
Credits:
Graphics by RinaKustova - this set was one of the six free downloads that Creative Market offers every week: https://creativemarket.com/RinaKustova/6979861-Cats-and-plants-clipart-for-kids
Commentaires